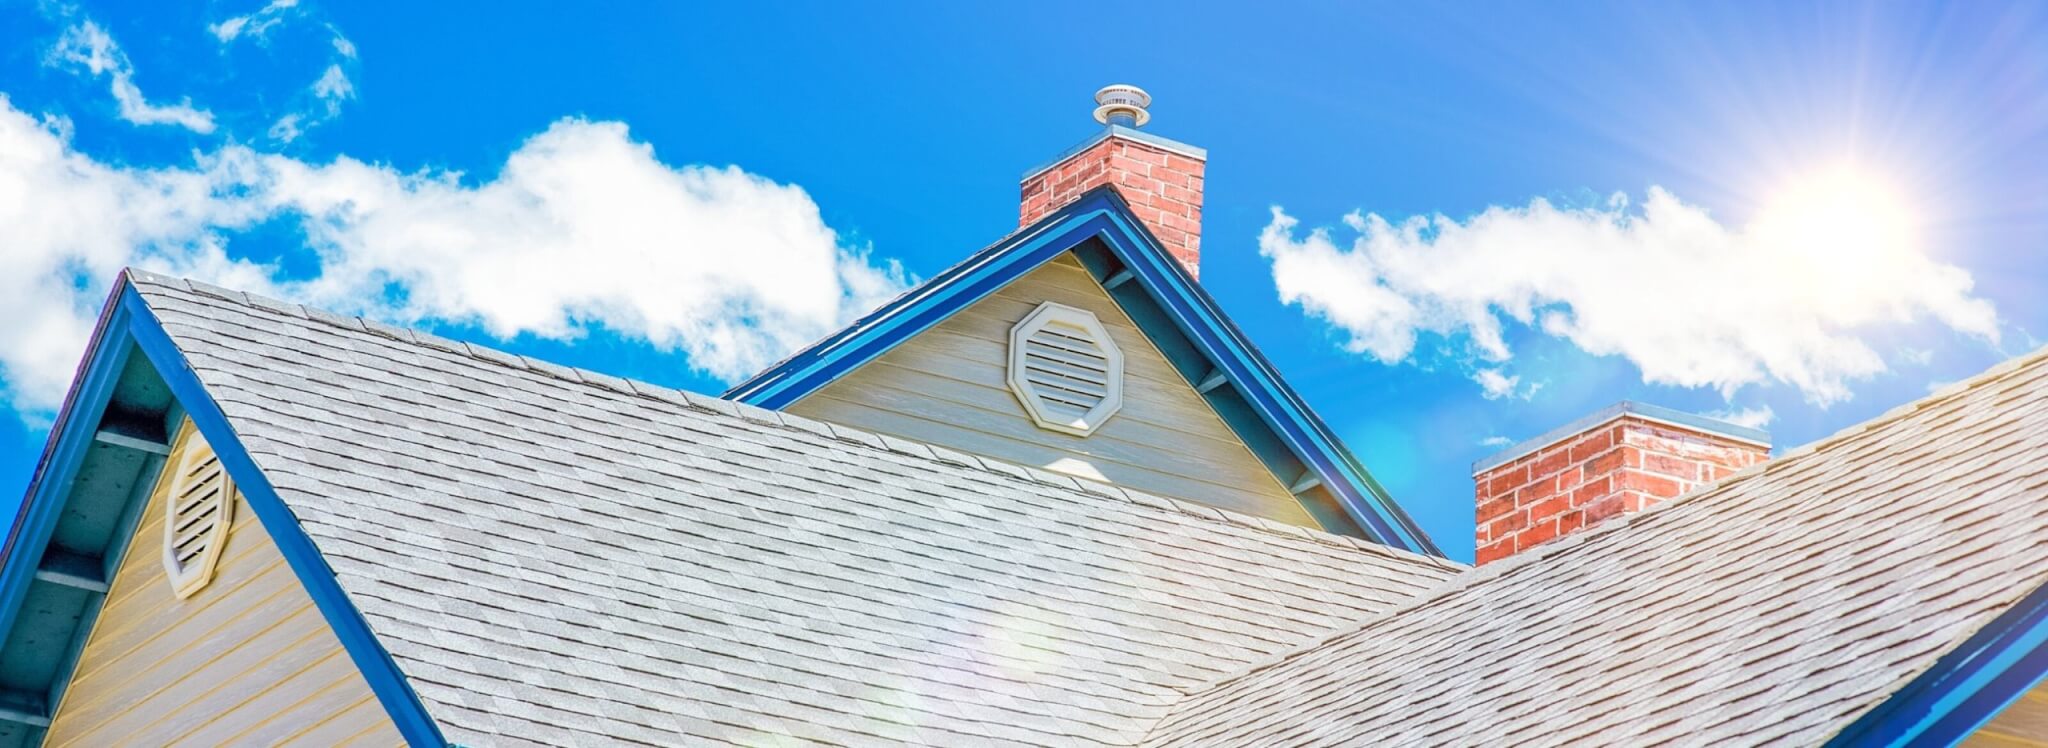
Clean, unobstructed gutters and downspouts provide a clear pathway for water to run off your roof and away from your home’s exterior siding and foundation. Regularly cleared gutters eliminate the opportunity for pooling water, ice dams, debris buildup, and pests, so this simple task helps prevent water damage to preserve your roof and overall home’s structure. And the savings can be big: Taking an hour or two a few times a year to clean your gutters can save up to $14,000 in roof replacement costs!
What to Do
Remove any built-up leaves, dirt, and debris from your gutters and downspouts before winter storms.
What You’ll Need
The Basics
Gloves
Ladder
Bucket with handle
Drop cloth or tarp
Scooper
Garden hose
Trash bag
Yard waste bag or composter
The Works
Plumbing snake
How to Do It
Set up your ladder so you can reach your gutters. To minimize mess, check your gutters to see if the debris is wet or dry.
Dry debris
Scoop out dry debris into your bucket or trash bag until gutters are clear, emptying the bucket or getting new bags as needed as you progress the length of each gutter.
Wet debris
Scoop out wet debris into a bucket affixed to your gutter or toss to a streetside drop cloth or tarp. Empty bucket and/or relocate your tarp as needed.
Once your gutters are clear, dispose of all gathered debris in a yard waste bag or into your compost pile.
Then, make sure your downspouts are also unobstructed and directing water away from the house by testing them with a garden hose. Place a hose into your downspout and have a family member, friend, or neighbor turn on the water. Remove any clogs with increased water flow and/or a plumbing snake. Test and unclog all downspouts around the house.
LEGAL DISCLAIMER
The opinions expressed in this post are for informational purposes only. To determine the best financing for your personal circumstances and goals, consult with a licensed advisor.
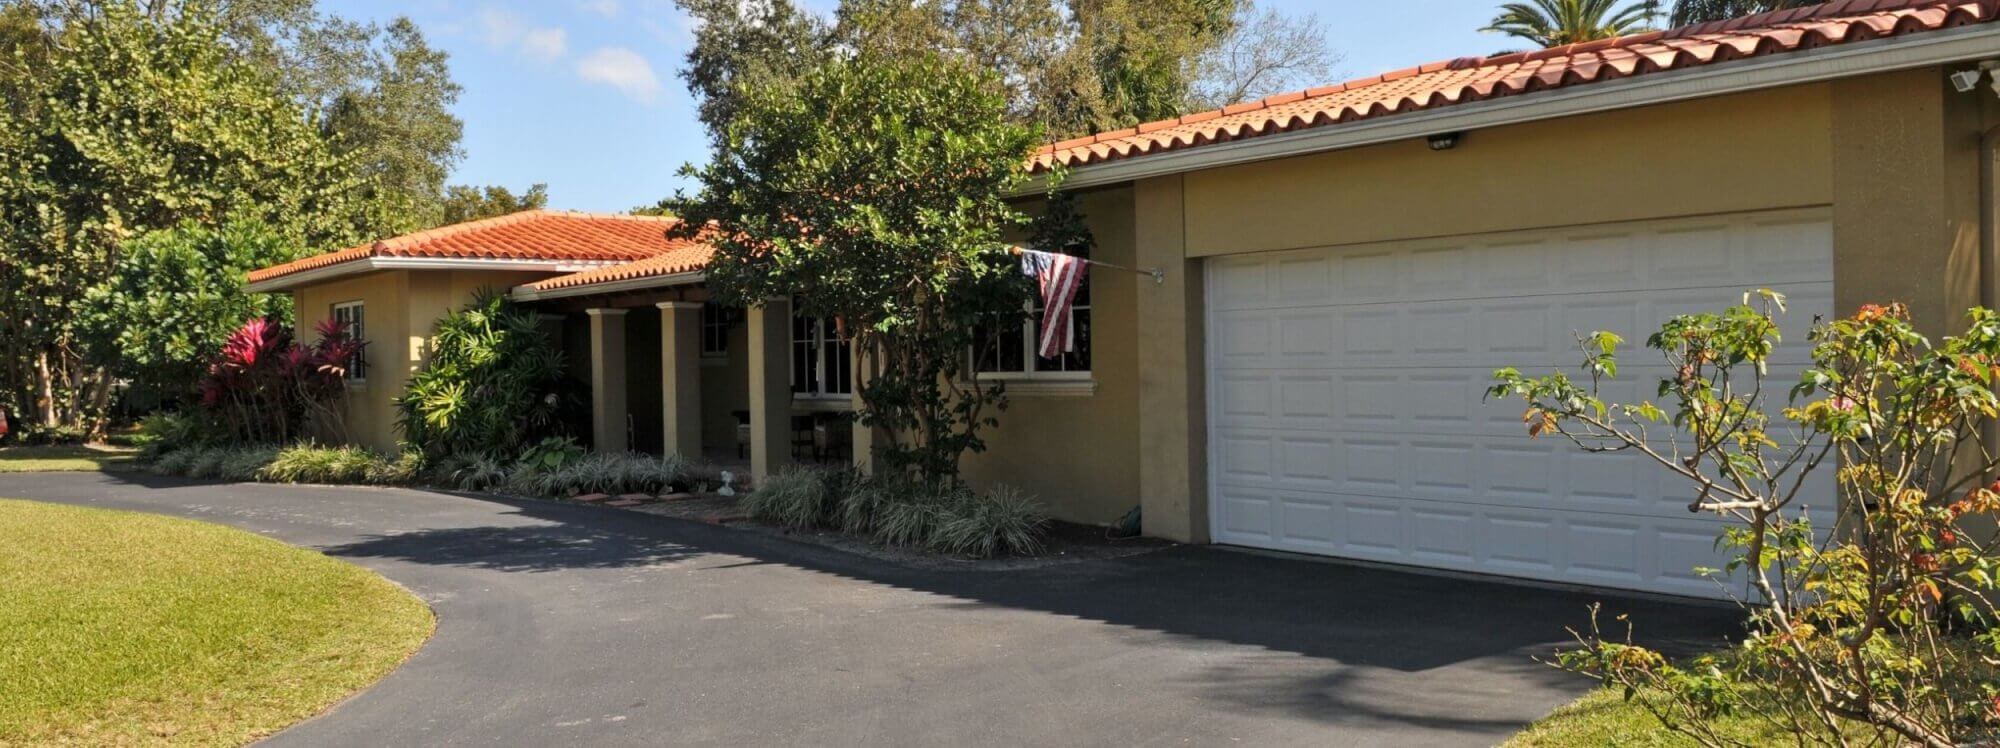
Patching cracks and holes in your driveway promotes a smooth and uniform surface, preventing damage to your vehicle’s tires and undercarriage. It also stops any tripping hazards, protecting you from hospital bills or liability claims. By filling cracks and holes, you’ll also deter tree roots, weeds, and pests from settling in. Finally, a uniform driveway increases curb appeal. Driveway patch and fill materials range from $3.50 to $100 at major hardware stores, so this preventive exterior home maintenance activity is a cost-effective way to preserve and protect your home for years to come.
What to Do
Repair any cracks or holes in your driveway to ensure safety and maintain curb appeal.
What You’ll Need
The Basics
Gloves
Crack filler
Gravel or crushed limestone
Replacement asphalt
Shovel
Rake
Plywood
The Works
Circular saw
Car
How to Do It
First, inspect your asphalt driveway and take inventory of any cracks and holes.
Second, check the weather forecast before beginning any driveway repair work. If rain is in store, hold off. If you have sun for the next 48 hours, you’re good to go.
Third, remove all loose debris around the crack and/or hole.
For Holes
Create a uniform working area around the hole with a circular saw, then clear all unsettled debris. If you’re working at the edge of a driveway, add a wooden board (cut to fit) to define the boundary. Add a layer of gravel or crushed limestone as a base for the new asphalt, then smooth it out and tamp it down so the foundation is level and sturdy. Fill the area with replacement asphalt, then spread it and tamp it so the surface is uniform with the rest of the driveway. Place a layer of plywood on top of the filled hole, then drive over the spot to pack down the fill.
For Cracks
Fill driveway cracks less than half an inch wide with crack filler, taking care not to overfill and create a bump in the driveway. If you do overfill, use a shovel to smooth and spread the filler. For driveway cracks wider than half an inch, use the same treatment for driveway holes.
LEGAL DISCLAIMER
The opinions expressed in this post are for informational purposes only. To determine the best financing for your personal circumstances and goals, consult with a licensed advisor.
Labor Day, the last holiday weekend of summer, is a great excuse to host the neighbors for a final celebratory barbecue. And while we’re always a fan of entertaining, prepping for a party also can serve as a catalyst to address any problem areas around your property. We’ve rounded up expert tips for outdoor entertaining and maintenance this Labor Day. Check them out and you’ll be both a welcoming host and a responsible homeowner.
First Things First: Outdoor Party Prep
From clearing walkways to pest-proofing your entertaining area, these 12 ways to get your backyard barbecue-ready from the team at She Knows ensure your outdoor space will be prepped and welcoming to guests.
Use your upcoming party as a catalyst to make long-desired outdoor improvements, say the home experts at INSTALL-IT-DIRECT. Their “17 Quick, Pre-party Backyard Fixes” cover edging your lawn, hiding ugly fixtures with plants and fencing, setting up a mini sound system, and more.
Planning early fall barbecues after Labor Day? Get a jump on your next outdoor party with tips from Houzz. Their to-do list starts a month before the barbecue—with tasks like assessing outdoor furniture and cleaning your grill—and goes right up to the day of the get-together.
Post-Party Cleanup
After the party ends, your patio, deck, and lawn may be in rough shape. Tackle post-party messes, including removing wine stains from your deck, with BuildDirect’s “How to Clean Up after Your Outdoor Party” blog post.
Not sure how to tackle the post-party cleanup? With “A Smarter Way to Clean Up after Your Big Party,” Jolie Kerr with The New York Times has an order of operations on what to do once your guests head home. (Caveat: This story was written for Christmas parties, but the tips apply to any house party.)
If your party is big and you’re thinking you might want to outsource your post-party cleanup, check out Reilly Sweeping, Inc.’s “5 Things to Consider before Hiring a Special Event Cleanup Crew.”
Watch the Pros at Work
Get your yard ready for your Labor Day get-together with Simple Green’s “How to Clean Your Backyard for a Party” video.
Prep for your barbecue step by step with The Unfrumpy Mommy Life’s “End of Summer Backyard Party Planning Tips” video.
Keep bugs away from your food and drinks with AtHome’s “Keep Bugs at Bay” video, part of its “Outdoor Dining Hacks: Prep for Your Patio Party” series.
Here’s to enjoying every last drop of summer outside while we can!
LEGAL DISCLAIMER
The opinions expressed in this post are for informational purposes only. To determine the best financing for your personal circumstances and goals, consult with a licensed advisor.
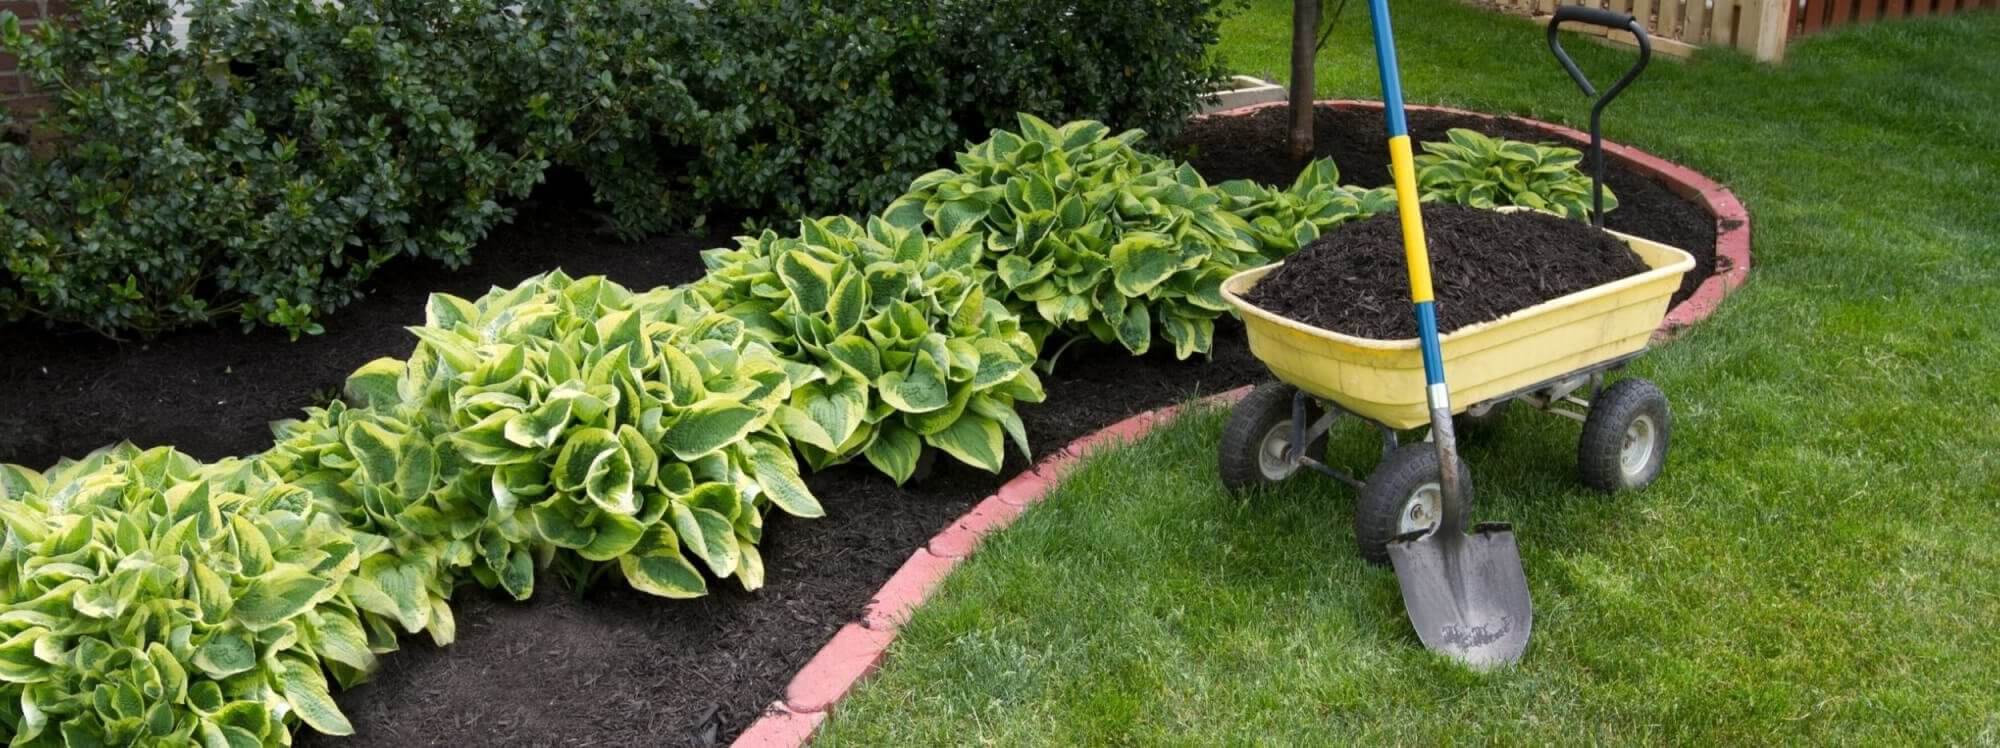
When used properly, mulch can provide nutrients to your plants and prevent weed growth while also making your landscaping more attractive. Additionally, a home with well-maintained landscaping and tidy curb appeal can increase your home’s value by $5,000 when it comes time to sell. So, whether your motivation is pride of ownership or to appeal to new buyers, mulch adds aesthetic and financial value.
What to Do
Add new mulch to your flower beds and other landscaped areas around your property.
What You’ll Need
Mulch
Wheelbarrow
Shovel
Rake
Garden hose
How to Do It
Select which mulch—organic or inorganic—will work best for your gardens, both from a functional and aesthetic perspective. Organic mulch (compost, wood chips, grass clippings, etc.) provides nutrients to soil and plants, prevents weeds, and protects roots and will need to be replaced every year. Inorganic mulch (gravel, river rock, stones, etc.) can match the color of your home and will have a longer duration than organic mulch, although it may be less effective at preserving your plants.
Paying attention to the roots of your flowers, trees, and shrubs, remove any weeds and old decomposed mulch from your landscaped areas. Create an edge (e.g., line of stones or recessed line in the soil) around the area to be mulched. Add any new plants to the area (if applicable). Shovel small piles of new mulch into the cleared and edged area, then rake across the surface, aiming for one to two inches of cover across your landscaping in summer, or four inches of cover for winter. Leave an inch of clearance around any tree trunks or plants. Water the new mulched area to settle it, taking care not to overwater.
LEGAL DISCLAIMER
The opinions expressed in this post are for informational purposes only. To determine the best financing for your personal circumstances and goals, consult with a licensed advisor.
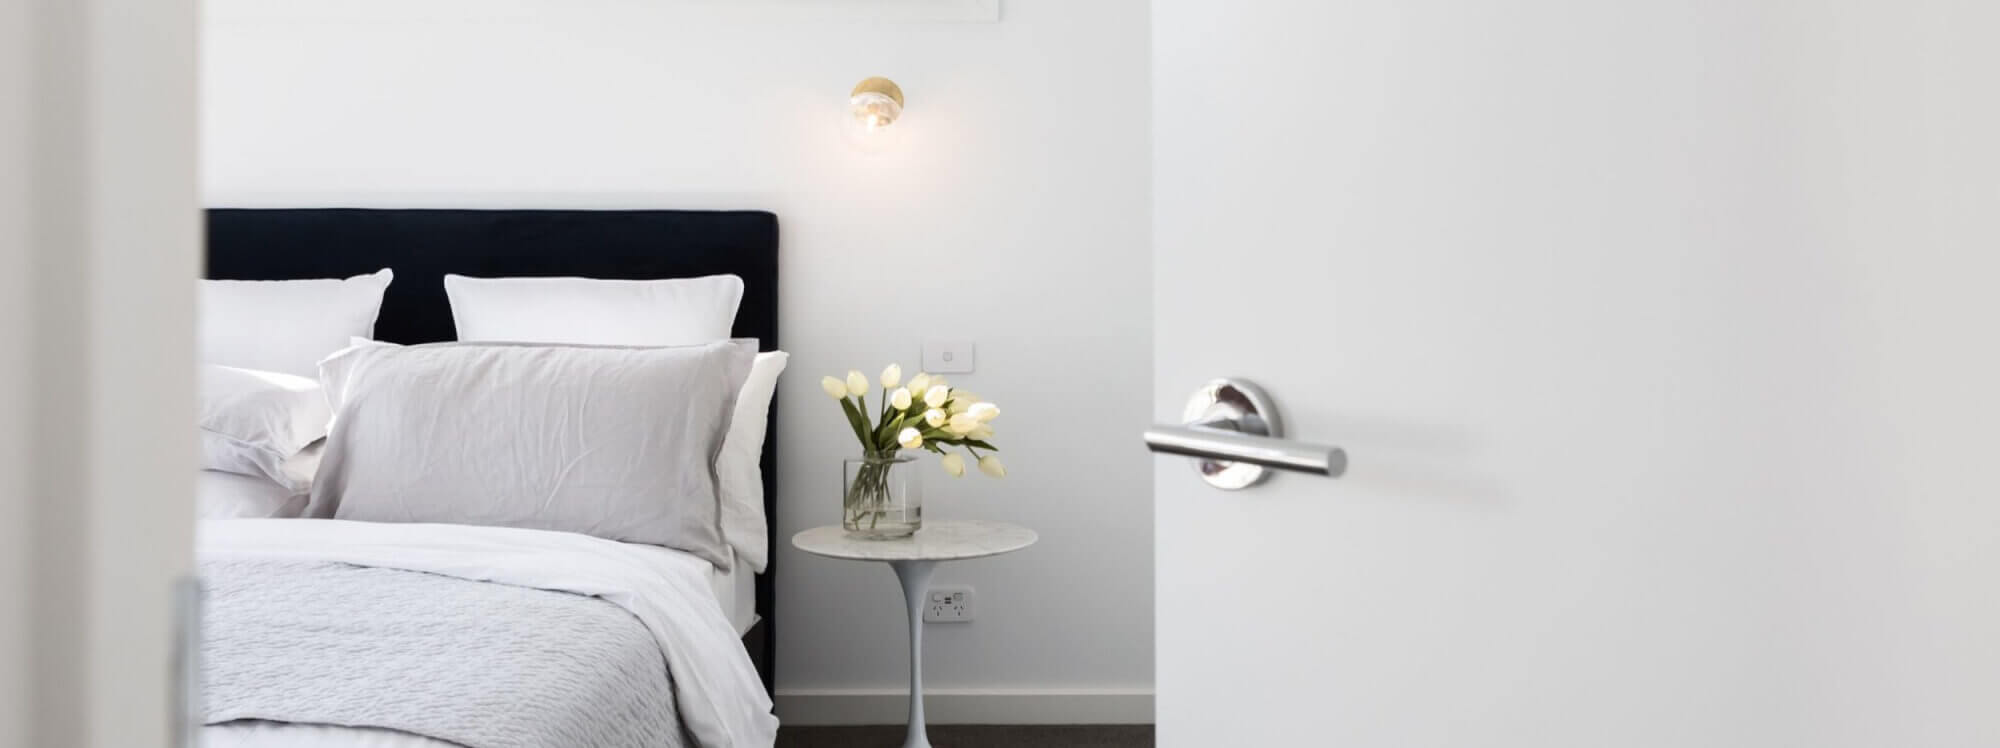
Many homeowners, especially empty nesters, have mulled over turning their spare bedroom, in-law apartment, or room over the garage into a side income stream. But what does renting out that extra room actually entail—and does it make sense for you and your goals? In the interest of preserving both your home and your finances, here are five key questions to help you decide whether or not to rent out a room in your house.
1. Am I Legally Allowed to Rent out a Room?
First things first: Does your city allow you to rent out a room? According to Airbnb, some local jurisdictions require permits and/or licenses while others prohibit certain types of rentals altogether (e.g., short-term rentals). Speak with your local housing authority to gain clarity on what’s allowed for your specific municipality. Once you learn the legal requirements, follow all conditions to the letter to avoid fines or other penalties.
2. What Should I Charge for Rent?
Will your rentals be short-term stays or long-term leases? The type of room rental you select will impact what you charge for rent (and what you’ll spend on upkeep, which can impact your rental rates).
Short-term rentals will afford you higher per night rates while also requiring more hands-on property management on your part. Your short-term rental income will also be more erratic based on travel trends and seasonality. Long-term rentals will have a lower per night rate but with the trade-off of a longer guaranteed income stream and (most likely) less frequent maintenance. Consider each rental type’s specific overhead and time involvement when determining what to charge to rent your room.
Of course, you’ll want to make sure your rental rates fit the local market. For short-term rentals, look at per night rates for local properties similar to yours on vacation rental sites like Flipkey or HomeAway. For long-term rentals, Cozy, a property management software company, recommends doing pricing research on local listings from craigslist and Roommates.com.
3. How Should I Prep My Room for Rent?
Look at the room—and your overall property—as though you’re the potential renter. How can you make the space more attractive? Or one better: Which improvements and upgrades can result in a higher rental rate?
In preparing a space for rental, Zillow recommends first changing the locks then repairing any problem areas (such as holes in the walls or eroding caulk), adding a fresh coat of paint, and getting the space professionally cleaned (including carpets). If the room is part of common areas that overlap with your living space, Cozy’s experts advocate for individual smart locks on each bedroom as well as moving valuables from common areas to private and secured storage.
4. Do I Need a New Insurance Policy?
Depending on your current homeowner’s insurance policy, you may already be covered for losses, damages, and liabilities should you rent out a room in your home. Contact your homeowner’s insurance representative to go over your rental plans and how the coverage you currently have protects you, what gaps exist, and which services should be added to protect your home.
You may also want to ask your renter to look into renter’s insurance. According to Foundation Insurance Group, your homeowner’s insurance may not cover any damages to the renter’s belongings in case of fire, damage, or an accident. Renter’s insurance will also cover the renter should their actions cause damage to your home or belongings.
5. What Should I Put in the Listing and Lease?
For listings, go back to the sites where you researched your rental prices and use these listings as examples of what to include when you post your own rental. Necessary details include rental type, how many people the space can accommodate, pricing, neighborhood/location, photos, availability calendar, and amenities. The team at Guesty has a step-by-step tutorial of best practices for Airbnb listings, including ideal summary length (spoiler: 250 characters or less) and optimal photo sizes. Additionally, most room rental sites have a tips and resources section with recommendations for how to make your listing stand out from the pack.
Regarding leases, at minimum, the lease for your room rental (both short- and long-term) should cover both the owner’s and renter’s rights and responsibilities, including the amount of rent, the dates of the rental, security deposit policies, and lifestyle factors such as pets and guests, says the team at RocketLawyer. Many free lease templates are available online to get you started, and it’s always a good idea to have a legal professional review any final documents before you get your first tenant.
Done wisely, renting out your spare room can bring in much-needed funds to help you reach your goals. Know your local laws, vet your renters thoroughly, and foster good communication with your renters and you’ll protect the value of your home while also accessing its income potential.
Take our 5-minute quiz to see if a home equity investment is a good fit for you.
LEGAL DISCLAIMER
The opinions expressed in this post are for informational purposes only. To determine the best financing for your personal circumstances and goals, consult with a licensed advisor.
Sediment, chemicals, and minerals will build up in water filters over time, making them less effective. To ensure clean drinking water in every glass, change your water filters every six months or when your system indicates a new filter is needed (e.g., a red light or change filter alert). Depending on your refrigerator model, replacement water filters start at $15. Faucet filtration systems can range from $15 to $100, while under-the-sink filters can cost you between $100 and $600. With pallets of bottled water starting at $275, getting a filter will save a lot of money for clean drinking water over six months (and also minimize waste).
What to Do
Replace the filters in your fridge and/or kitchen faucet to ensure clean drinking water.
What You’ll Need
The Basics
New water filter
Gloves
Trash receptacle
The Works
Wrench
Replacement O-rings
Mild cleaner
Paper towels or sponge
How to Do It
First, determine the specific water filter needed (e.g., make and model), then purchase the replacement filter.
For Refrigerators
Turn off the water supply and locate the water filter compartment. Remove the old water filter and discard. Wipe down compartment to remove any residue. On the new filter, remove any seals or caps (if applicable), then place the new filter into its designated space. Restore the water supply.
For Kitchen Sinks
For faucets, open the filter chamber and remove the old filter. Wipe down compartment area (if possible). Replace with the new filter and close the compartment. Dispose the used filter.
For under-the-sink filters, turn off the water supply, then turn on the faucet to relieve any pressure. Under the sink, remove the filter compartment, taking care not to spill any accumulated water. Remove all ancillary hardware and the old filter cartridge. Note whether O-rings show signs of buildup or decay; clean or replace as needed. Clean the compartment to remove all residue and grime. Add new filter cartridge and replace all hardware. Discard the old filter.
Regardless of the system, once your water filter has been replaced be sure to run the taps for a few minutes to get filters up and running properly.
Take our 5-minute quiz to see if a home equity investment is a good fit for you.
LEGAL DISCLAIMER
The opinions expressed in this post are for informational purposes only. To determine the best financing for your personal circumstances and goals, consult with a licensed advisor.
Back-to-school lists typically focus on school supplies and after-school activities, but busy parents know your house undergoes a transition each September, too. If your home is a frequent gathering place for playdates or study sessions, take a few hours this August to get your home ready for the new school year.
First Things First: Get Organized
The experts at ParentMap have great ideas on “How to Get Your House Back-to-School Ready,” including adding shelving, adopting a chalkboard or bulletin board family schedule, and creating kid-friendly (and study-conducive) desk space.
Blogger Melissa Maker of Clean My Space has organizational and utility tips for parents getting their house ready for the new school year, including money-saving inventory checks, cubbies for the mud room, and designated file systems for school permission slips and notes.
From returning order to the kitchen to donating old sports equipment, these “Reclaim Your House After Kids Go Back to School” tips from decluttering expert Tracy McCubbin will make your home tidy and efficient during the school year.
Bigger Projects for Kid-Friendly Gathering Spaces
If you regularly host playdates or study groups and are feeling squeezed, This Old House has “18 Ways to Turn Unused Space Into the Rooms You Need”—without changing your home’s footprint. Projects include creating a smart homework station, converting your attic to a kids’ bedroom suite, or updating your basement to a family room.
Is your home kid-friendly? If you’re not sure, check out “10 Ways to Make Your Home Healthy and Safe” from Parents magazine.
Every kid gets overwhelmed, especially during back-to-school time. The CBC shows you “How to Create a Calm-Down Space for Your Kids” to minimize disruption and foster safety. (After all, an anxious kid who has a dedicated space is less likely to wreak havoc across the house.)
Watch Tips from the Pros:
Concerned about the durability of your furnishings during all those playdates? Wayfair’s “Kid-Friendly Fabrics for Your Home” video helps you choose indestructible materials for every room.
If your living room is part gathering space, part kids’ playroom, IKEA’s living room makeover for a family of five offers inspiration on how to repurpose a room so it’s truly multifunctional.
Watch how Joanna Gaines of HGTV’s “Fixer Upper” took a spare closet in a garage and transformed it into a playroom.
Whether you’re looking to create more playdate spaces or just need better organization, taking time this back-to-school season for some kid-friendly projects can make your home more functional and orderly. Get input from your kids, check your budget, and get going!
Take our 5-minute quiz to see if a home equity investment is a good fit for you.
LEGAL DISCLAIMER
The opinions expressed in this post are for informational purposes only. To determine the best financing for your personal circumstances and goals, consult with a licensed advisor.
Twinkling canopy lights on a back patio. Luminary-style sconces along a walkway to the front door. Driveway security lights that illuminate with a motion detector. Landscape lighting adds both style and substance to your home: It’s curb appeal and practical function all in one upgrade. We’ve rounded up some of our favorite landscape lighting tips and ideas. Which will you add to your property this summer?
First Things First: Choose Your Landscape Lighting and Installation Method
Get inspired with an outdoor lighting photo gallery from Home Stratosphere showcasing 15 lighting ideas, including lighting the porch, garage, front walkway, and more.
Should you go with a DIY landscape lighting kit or hire a professional to install your outdoor lighting? HGTV goes over the types of landscape lighting to consider and their respective maintenance as well as common landscape lighting mistakes homeowners can avoid.
This Old House scopes out everything homeowners may be wondering about landscape lighting—from lighting fixtures to garden placement, DIY and professional costs to landscape design considerations.
Landscape Lighting for DIY Homeowners
If you’re new to outdoor lighting and home improvement projects, don’t sweat it. Family Handyman has step-by-step DIY outdoor lighting tips for beginners.
Popular Mechanics shows homeowners how to put in low-voltage landscape lighting yourself, covering key components and installation recommendations for a variety of yard placements.
Lowe’s for Pros goes over how contractors approach the process of installing low-voltage landscape lighting, including mapping out a scheme, determining the number of fixtures needed, and measuring wire.
Watch the Pros at Work
Overwhelmed by all the different landscape lighting options? RunmanReCords Design has a video gallery of 40- plus landscape lighting ideas to help you focus (pun fully intended).
The Lighting Doctor, a Calgary-based lighting expert and contractor, walks homeowners through the DIY landscape lighting installation process. DIY enthusiast Jeff Patterson from The Home Repair Tutor shows fellow homeowners how to install low-voltage landscape lighting using a home’s front steps as an example.
Whether you’re going with simple patio lighting or a professionally designed, full-yard lighting project, your landscape lighting should work toward making your home more attractive and secure. Shine on!
Take our 5-minute quiz to see if a home equity investment is a good fit for you.
LEGAL DISCLAIMER
The opinions expressed in this post are for informational purposes only. To determine the best financing for your personal circumstances and goals, consult with a licensed advisor.