Back-to-school lists typically focus on school supplies and after-school activities, but busy parents know your house undergoes a transition each September, too. If your home is a frequent gathering place for playdates or study sessions, take a few hours this August to get your home ready for the new school year.
First Things First: Get Organized
The experts at ParentMap have great ideas on “How to Get Your House Back-to-School Ready,” including adding shelving, adopting a chalkboard or bulletin board family schedule, and creating kid-friendly (and study-conducive) desk space.
Blogger Melissa Maker of Clean My Space has organizational and utility tips for parents getting their house ready for the new school year, including money-saving inventory checks, cubbies for the mud room, and designated file systems for school permission slips and notes.
From returning order to the kitchen to donating old sports equipment, these “Reclaim Your House After Kids Go Back to School” tips from decluttering expert Tracy McCubbin will make your home tidy and efficient during the school year.
Bigger Projects for Kid-Friendly Gathering Spaces
If you regularly host playdates or study groups and are feeling squeezed, This Old House has “18 Ways to Turn Unused Space Into the Rooms You Need”—without changing your home’s footprint. Projects include creating a smart homework station, converting your attic to a kids’ bedroom suite, or updating your basement to a family room.
Is your home kid-friendly? If you’re not sure, check out “10 Ways to Make Your Home Healthy and Safe” from Parents magazine.
Every kid gets overwhelmed, especially during back-to-school time. The CBC shows you “How to Create a Calm-Down Space for Your Kids” to minimize disruption and foster safety. (After all, an anxious kid who has a dedicated space is less likely to wreak havoc across the house.)
Watch Tips from the Pros:
Concerned about the durability of your furnishings during all those playdates? Wayfair’s “Kid-Friendly Fabrics for Your Home” video helps you choose indestructible materials for every room.
If your living room is part gathering space, part kids’ playroom, IKEA’s living room makeover for a family of five offers inspiration on how to repurpose a room so it’s truly multifunctional.
Watch how Joanna Gaines of HGTV’s “Fixer Upper” took a spare closet in a garage and transformed it into a playroom.
Whether you’re looking to create more playdate spaces or just need better organization, taking time this back-to-school season for some kid-friendly projects can make your home more functional and orderly. Get input from your kids, check your budget, and get going!
Take our 5-minute quiz to see if a home equity investment is a good fit for you.
LEGAL DISCLAIMER
The opinions expressed in this post are for informational purposes only. To determine the best financing for your personal circumstances and goals, consult with a licensed advisor.
Twinkling canopy lights on a back patio. Luminary-style sconces along a walkway to the front door. Driveway security lights that illuminate with a motion detector. Landscape lighting adds both style and substance to your home: It’s curb appeal and practical function all in one upgrade. We’ve rounded up some of our favorite landscape lighting tips and ideas. Which will you add to your property this summer?
First Things First: Choose Your Landscape Lighting and Installation Method
Get inspired with an outdoor lighting photo gallery from Home Stratosphere showcasing 15 lighting ideas, including lighting the porch, garage, front walkway, and more.
Should you go with a DIY landscape lighting kit or hire a professional to install your outdoor lighting? HGTV goes over the types of landscape lighting to consider and their respective maintenance as well as common landscape lighting mistakes homeowners can avoid.
This Old House scopes out everything homeowners may be wondering about landscape lighting—from lighting fixtures to garden placement, DIY and professional costs to landscape design considerations.
Landscape Lighting for DIY Homeowners
If you’re new to outdoor lighting and home improvement projects, don’t sweat it. Family Handyman has step-by-step DIY outdoor lighting tips for beginners.
Popular Mechanics shows homeowners how to put in low-voltage landscape lighting yourself, covering key components and installation recommendations for a variety of yard placements.
Lowe’s for Pros goes over how contractors approach the process of installing low-voltage landscape lighting, including mapping out a scheme, determining the number of fixtures needed, and measuring wire.
Watch the Pros at Work
Overwhelmed by all the different landscape lighting options? RunmanReCords Design has a video gallery of 40- plus landscape lighting ideas to help you focus (pun fully intended).
The Lighting Doctor, a Calgary-based lighting expert and contractor, walks homeowners through the DIY landscape lighting installation process. DIY enthusiast Jeff Patterson from The Home Repair Tutor shows fellow homeowners how to install low-voltage landscape lighting using a home’s front steps as an example.
Whether you’re going with simple patio lighting or a professionally designed, full-yard lighting project, your landscape lighting should work toward making your home more attractive and secure. Shine on!
Take our 5-minute quiz to see if a home equity investment is a good fit for you.
LEGAL DISCLAIMER
The opinions expressed in this post are for informational purposes only. To determine the best financing for your personal circumstances and goals, consult with a licensed advisor.
If you’re planning to put your house on the market in the near future, you may be considering home improvement projects that can increase your resale value. To make sure your time and money are well-spent, start thinking like a prospective buyer.
“Less is more when it comes to upgrades,” says Dan DiClerico, a home expert and smart home strategist with Home Advisor. “The key is to focus on the areas of the home that the prospective buyers are going to look to first: the kitchen, the bathroom, the exterior and facade. Be judicious in your choice of products and materials. As a general rule, go for more neutral styles and look for the quick fixes that will create maximum order and minimal upkeep. Low maintenance is key, especially with today’s homebuyer.”
For maximum return on investment, here are five quick and easy home upgrades that will appeal to homebuyers and increase your home’s resale value.
1. Paint
New paint gives your home a fresh look—as long as the color choice is neutral. According to CBS Money Watch, a taupe living room can boost your home sale price by $1,800 while a blue bathroom can up your asking price by more than $5,000. (Note the opposite factor applies, too: According to Zillow’s 2017 Paint Color Analysis, certain saturated colors, like red or terra cotta, can decrease your home’s value.)
If you’re a skilled DIYer and plan to paint yourself, DiClerico recommends budgeting around $100 to get your paint, brushes, drop cloths, tape, and other painting supplies. If you go with a professional, plan on spending around $1,700 for the whole interior or a few hundred dollars for just a room or two.
A pro painting tip for DIYers: “If it’s a bigger project with multiple rooms and you’ll need multiple gallons of paint, you can save money by buying your paint in five-gallon buckets,” DiClerico says. “It tends to slash the overall material cost by about 25 percent.”
2. Smart Home Technology
A recent National Association of Realtors® (NAR) survey showed that more than 40 percent of real estate agents have homebuyer clients interested in smart home technology. So, if you’ve been considering adding a few smart home devices to your property, now’s the time to do it—they’ll appeal to your potential homebuyers while also adding convenience, efficiency, and security benefits to you and your family while you’re still living in the home.
Although many homeowners may think smart home technology will be an expensive upgrade, that’s an outdated assumption. DiClerico notes that a smart home suite bundling several products—including a smart lock, doorbell camera, and thermostat—can cost around $1,500, including a professional installation. If that price point seems too steep, consider it an investment. “NAR data puts the average increase in sale price at 5 percent for a home that has a smart technology upgrade,” says DiClerico. “So, if it’s a $200,000 home, that’s $10,000—many more times than covering the cost of the install.”
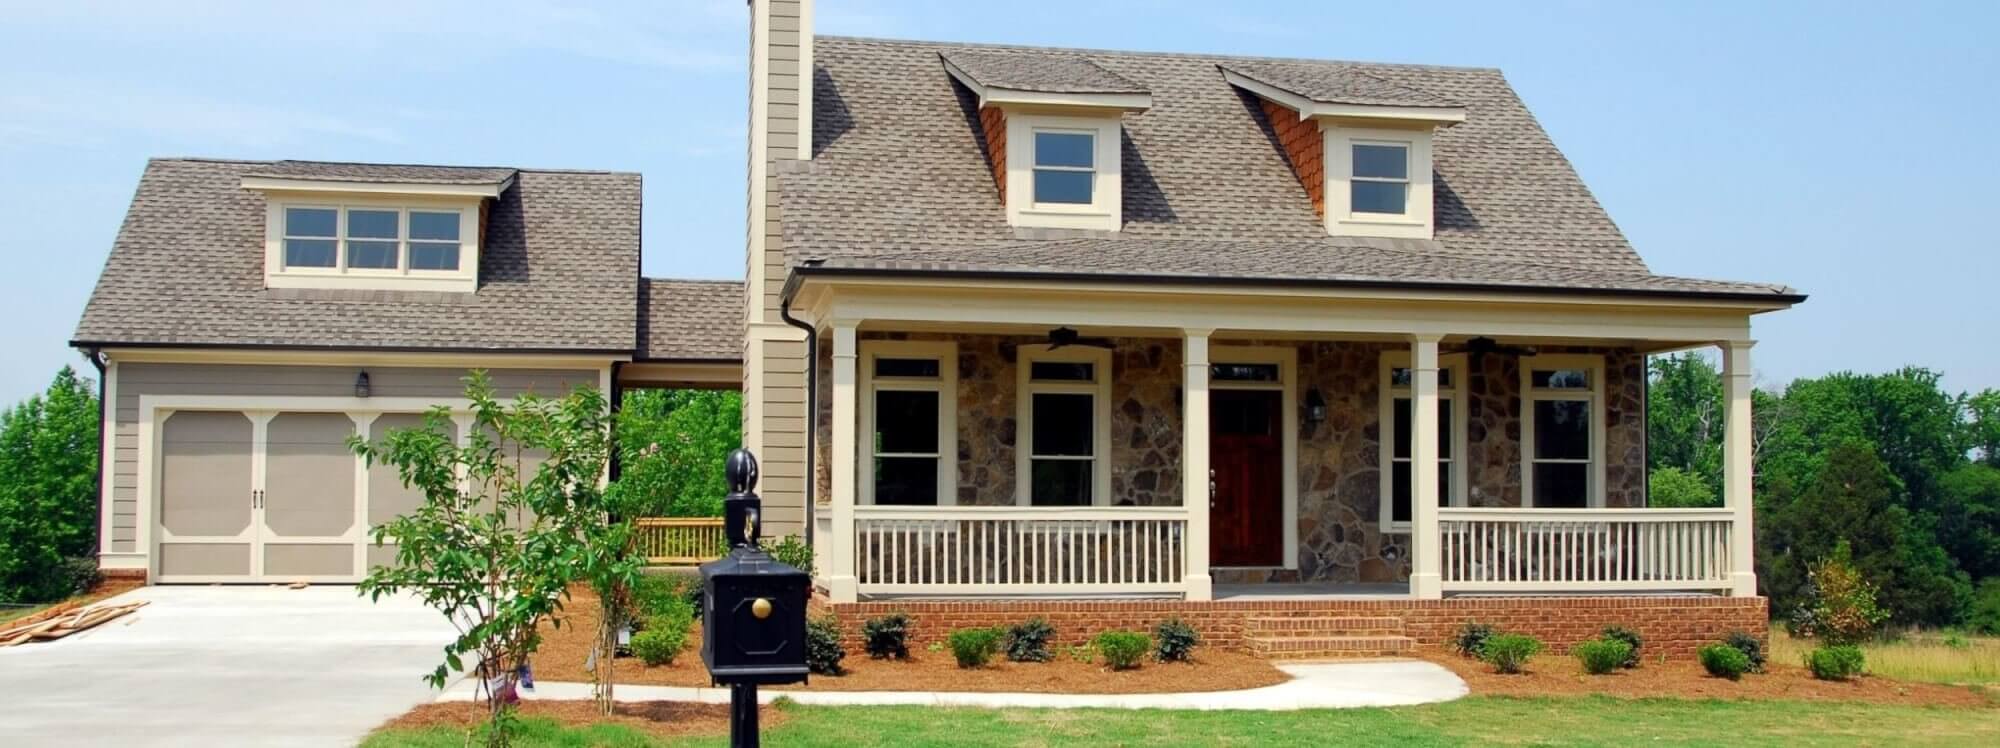
3. Curb Appeal
Your home’s exterior makes an all-important first impression. If you were to pull up to your home today and see it for the first time, how appealing would it be?
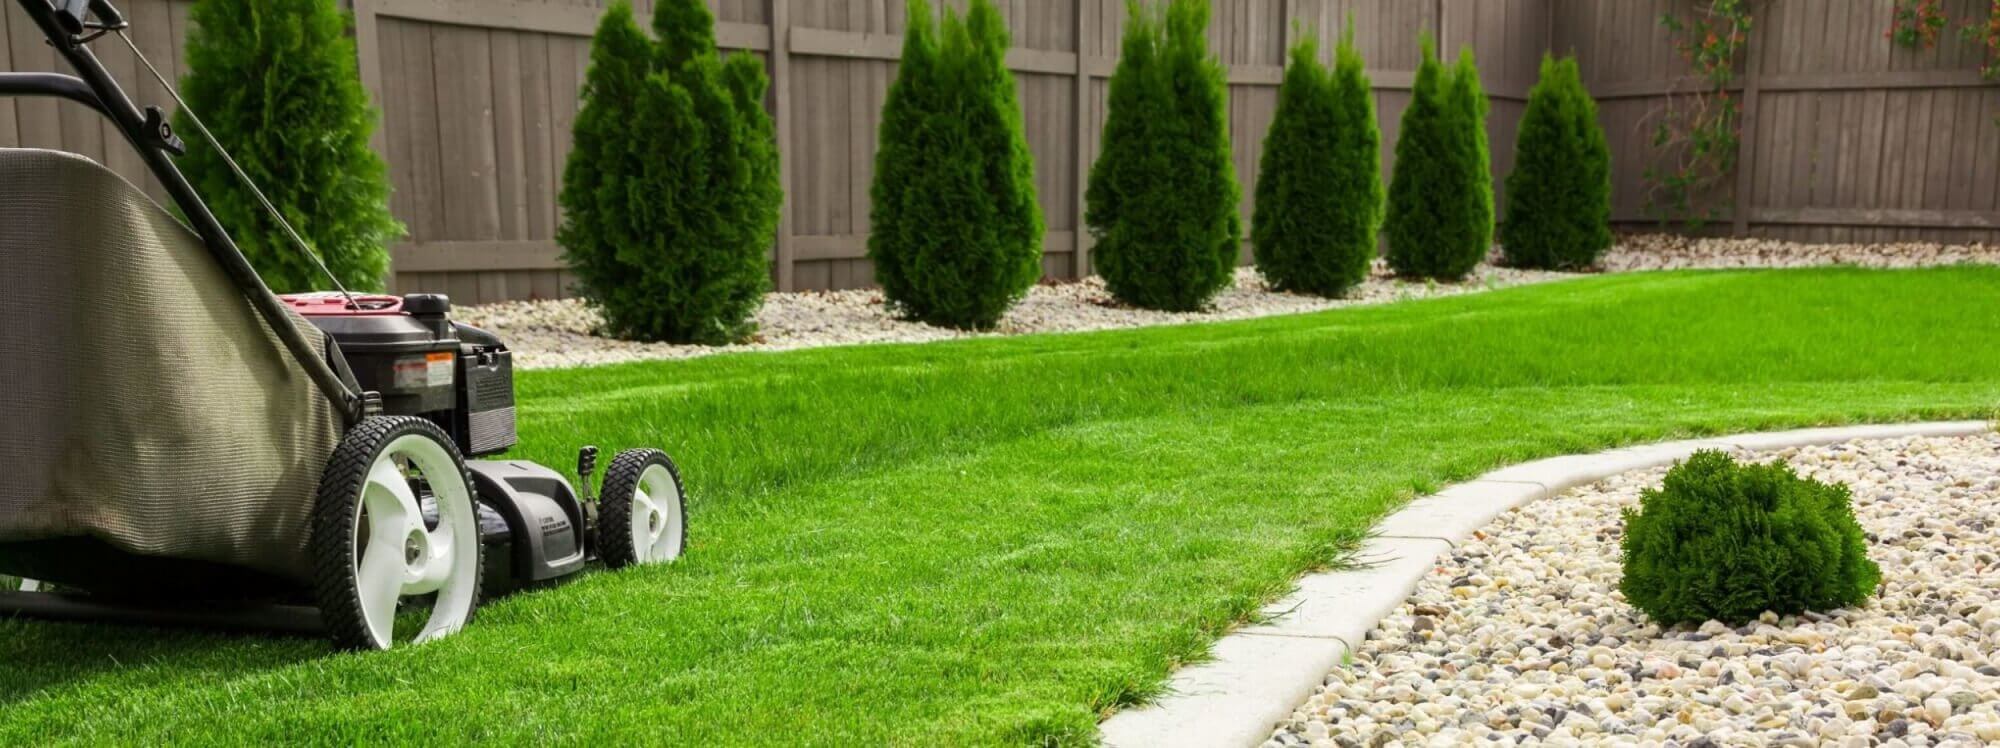
To start your exterior updates, the experts at Closetbox recommend freshening your flower beds with high-quality mulch, cleaning up and addressing any problem areas in and around your walkways, and upgrading your landscape lighting, among other fixes.
When it comes to your home’s exterior, “pay attention to the basic maintenance: mowing the lawn, trimming overgrown shrubs,” says DiClerico. “I liken it to a shave and a haircut before a job interview. If we’re looking to keep costs down, a fresh pop of color on the front door can instantly improve your home’s facade. And any home will benefit from a good power-washing to blast off the dirt, grime, and mildew that collects over the years. Most people won’t buy a power washer, but it costs around $280 to hire a pro. That’s money well-spent.”
4. Closets and Storage
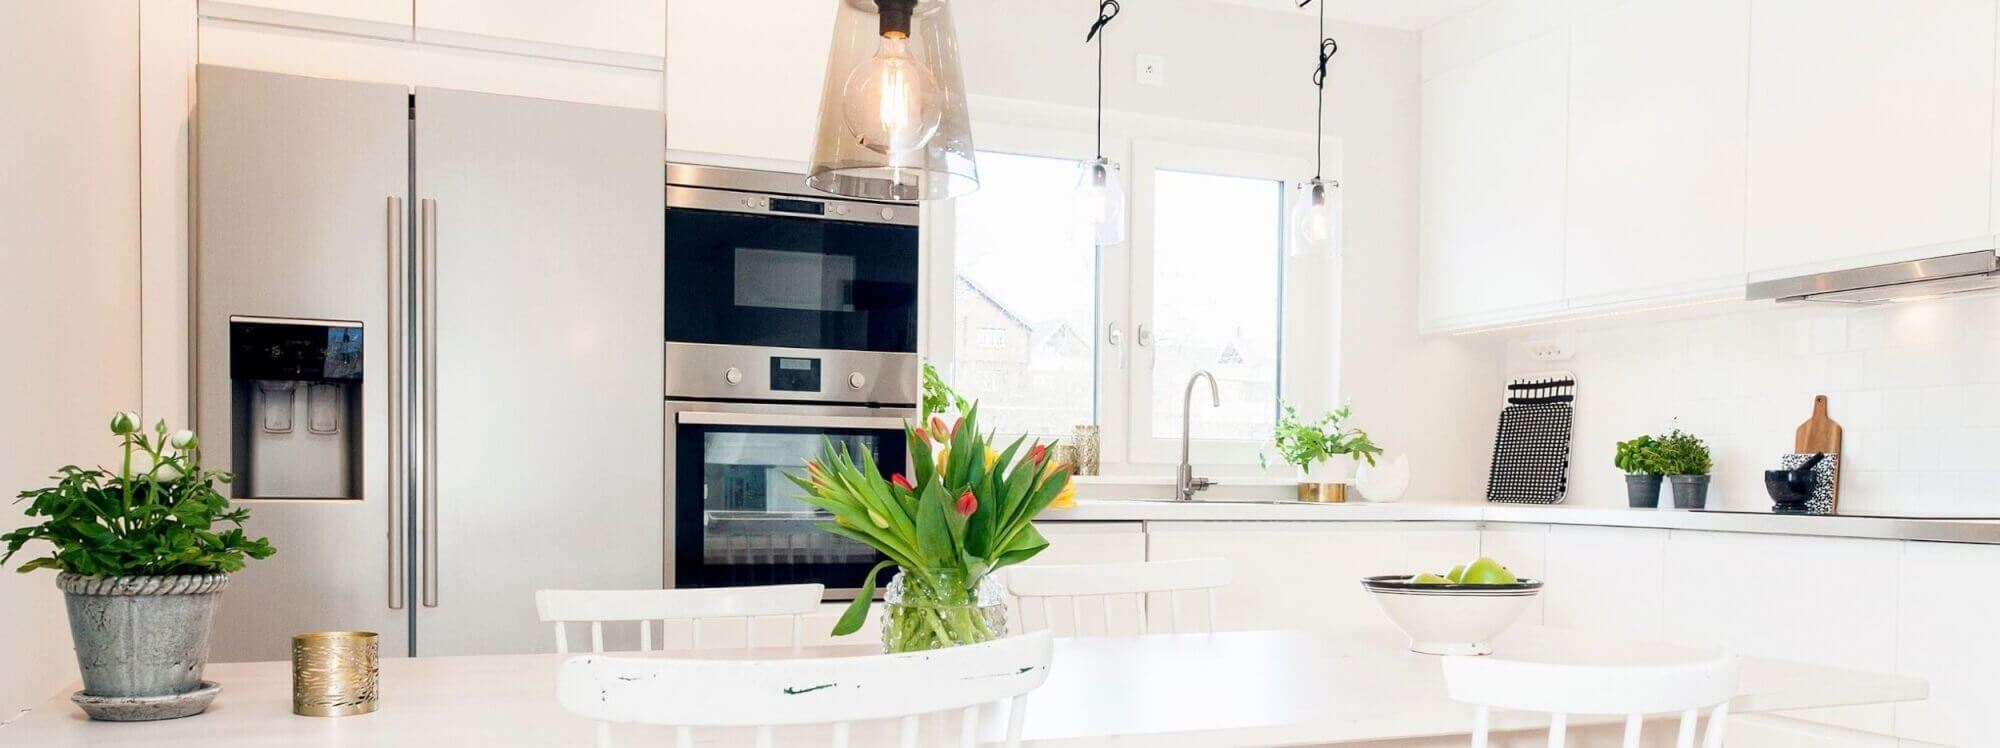
Would you cringe if someone were to look in your closets and cabinets? If so, it’s time to get organized. (After all, those future buyers are going to look!) But you don’t have to go overboard: The master suite and the kitchen are the rooms where storage matters most, according to HGTV, and any upgrades should be proportional and fit with the style of the house.
“Nothing turns away a buyer faster than piles of junk in the corner or closets that are overflowing,” says DiClerico. “Make that part of your inventory check: closet organizers, pullout drawers in kitchen cabinets, things that bring order to the home are going to be so important when you go to sell.”
Closet organizers start as low as $45 and can range up to several hundred dollars for custom installations.
5. Little Fixes
What are the small home improvement repairs you’ve been putting off? If you want to sell your home soon, it’s time to address them.
“The burn mark on the countertop, the leaky faucet in the bathroom, grubby and grimy grout in the bathroom are major turnoffs for homebuyers,” says DiClerico. “It’s these little things that if you don’t do them, it’s going to signal to that buyer, ‘what else is wrong with this home? The homeowner clearly hasn’t been staying on top of the maintenance, and I’m going to move on.’”
Spending a few hundred dollars on small fixes will make the space feel clean, fresh, and more inviting while also signaling that the home has been well-maintained.
With home improvement projects geared toward resale, always consider value and return on investment—the goal is to choose projects that will stay within your home budget and appeal to the home’s next owner (and hit the target of what they’ll be willing to pay for). Remember to keep the perspective of a home buyer in mind throughout the process, and you’ll set yourself up for success.
LEGAL DISCLAIMER
The opinions expressed in this post are for informational purposes only. To determine the best financing for your personal circumstances and goals, consult with a licensed advisor.
The best part of having a backyard? In our opinion, it’s getting the chance to host summer barbecues, pool parties, and other relaxed outdoor gatherings with friends and family. We’ve rounded up our favorite tips for prepping your home, lawn, deck, and patio for a festive backyard get-together. Whether you’re a new homeowner or a seasoned expert, take inspiration from these home and garden experts.
First Things First: Tidy Up!
The DIY Network offers handy tips for summer yard maintenance, from trimming shrubbery to clearing vines.
This Old House has step-by-step suggestions to get your outdoor space ready for party guests, including how to clean your grill, fix scruffy lawns, and polish your walkways.
Reader’s Digest walks you through how to properly wash your lawn and patio furniture, so your guests will have dirt- and dust-free places to sit.
Make Arrangements—and Pay Attention to Detail
From making sure you have enough seating to managing extension cords, Real Simple’s “16 Tips for an Effortless Outdoor Party” serve as a great pre-party checklist.
Food preparation may be the most important detail of all. Ensure you’re using your grill properly (and making food that’s sufficiently cooked) with summer barbecue safety tips from the Home Builders & Remodelers Association of Cape Cod.
If you’re on a tight budget but still want to have people over this summer, check out blogger Ruth Soukup’s budget-friendly “Host the Best Backyard Parties” guide on Living Well Spending Less.
Watch the Pros at Work…
If your backyard could benefit from a refresh before it’s ready for the season, House & Home’s video on putting together a perfect outdoor space helps you prep your yard for events and everyday use.
Is your grill cleaned up and ready for your barbecue? Home Depot’s video walks you through how to clean a gas grill from start to finish.
Finally, check out the “Two Must-Haves for Any Outdoor Get-Together” video from Better Homes & Gardens. (Spoiler alert: It’s good lighting and creating a moveable feast.)
Here’s to safe and fun outdoor parties this summer! Be sure to check out our weekly Hometap Tip to prep your patio for outdoor entertaining. And, save a burger and beer for us, will ya?
Take our 5-minute quiz to see if a home equity investment is a good fit for you.
LEGAL DISCLAIMER
The opinions expressed in this post are for informational purposes only. To determine the best financing for your personal circumstances and goals, consult with a licensed advisor.
A successful home remodel is the dream of many a homeowner: You’ll finally get that chef’s kitchen with custom cabinetry and top-of-the-line appliances; a new deck, patio, and fire pit for barbecue get-togethers; or an upgraded bathroom with a soaking tub. Even better, there’s also the potential that the home renovation may increase your home’s resale value.
But let’s be real: Home renovation projects can also be costly, stressful, and disruptive.
“The average [home] renovation has around 15,000 decisions involved in it,” says Bruce Irving, a real estate agent, home renovation consultant, and former producer of “This Old House,” who is based in Cambridge, Massachusetts. “Avoid wishful thinking: Almost all the time people underestimate time and money involved.”
“Making decisions about something as important as remodeling a home and the big expense that you can run into can really test a couple to see what they’re made of,” says Linda Bloom, LCSW, a relationship counselor based in Santa Cruz, California and co-author of “That Which Doesn’t Kill Us” along with her husband and fellow therapist Charlie Bloom, MSW. “There needs to be a spirit of goodwill…and good negotiation skills.”
“What it requires are qualities that don’t necessarily come naturally or easily to a lot of us,” says Charlie Bloom. “In a situation with a major home renovation, anticipate there are going to be differences…Be open to really listening well to your partner without trying to invalidate what they’re saying, or thinking or feeling. Keep in mind that the way in which you present your desires, feelings, and preferences is as important—and maybe even more important—than the specific content of what your preferences are.”
Before you get started with any potential remodel, it’s invaluable to not only prep your home, but also your relationships, to ensure a successful project outcome.
Is the Home Renovation Worth the Time, Money, and Stress?
When mulling over a potential home renovation, get as informed as possible so you can make the best decisions for your home, finances, and relationships.
First, know if your plans will be a worthwhile investment of both your time and money. You may be dreaming of an in-ground pool or wall-to-wall carpeting but the actual maintenance required may be eye-opening and/or potential buyers down the line may find those “upgrades” unappealing. Speak to a local expert to find out for sure.
“Getting a local real estate agent in for a consult is a great idea,” says Irving. “They’ll tell you what [buyers] expect and the things that never pay off.”
Additionally, by knowing how the remodel will impact your property value, you can then plan your remodeling budget accordingly. And while less tangible, you’ll also get a better sense of whether the payoff will be worth the stress of enduring the renovation project itself.
Speaking of stress, if you have anxiety about how your relationship will fare during a home renovation, try tackling a small project first.
“Money, power, hierarchy in decision making, optimism versus pessimism, all come to bear on the practical undertaking of the renovation,” says Irving. “People don’t know their power dynamic in this regard. So start first with a smaller project: Go build a birdhouse or a mailbox together and see. Try a small job in the house first, like the smallest bathroom at the farthest end of the house and take it on. It may not be super-efficient but you’ll learn a lot. Whatever happens, magnify it by some number and you’ve contemplated a bigger job.”
Choose Great Partners
After you’ve made an informed decision to renovate and tackled a smaller project together, find professional partners you trust (while also trusting your family partners implicitly).
“Do your due diligence before you enlist contractors—make sure they have a good reputation and they’re high-integrity people,” says Linda Bloom. “Set up the agreements before you do the work, and have contracts in order…so there are no surprise bills. Most home improvement projects end up taking more time [and] expenses [than planned]. Don’t become belligerent or combatant. Invite the contractor into good communication about ‘how are we going to solve this together.’”
“Build the right team” to avoid home renovation conflicts, says Irving. “Start with a good designer, and bring in builders early in the process while [you’re] sketching.” By bringing in the design and build side early together, you’ll be able to spec out plans that are both feasible for your property and within your budget and get everyone on the same page (or blueprint, as it were) right from the start.
Prep Your Home (and Your Relationships)
Before the first nail gets hammered, make a plan to communicate early and often.
When communicating with your families, “anticipate what it is that you’re going to likely experience so you’re prepared to encounter the disruption that inevitably occurs,” says Charlie Bloom. “Talk about it with your partner and kids: The home is not going to be the same structure. There’s going to be a period of time where it may be frustrating because things aren’t going to be where we expect them to be, we’re not going to be able to do things in the rooms that we used to, we’re not even going to have walls that we used to have. Talk about how we can anticipate what’s going to happen and how we can best deal with these things when they do…and when we’re done, it’s going to be really beautiful and we’re going to be happier. It’s going to be a disruption, but remember, it’s only going to be temporary.”
When communicating with contractors, don’t be afraid to ask questions. “There’s no such thing as a dumb [question],” says Irving. “And it’s your money you’re spending.”
Finally, “it’s important to hold the vision that the end product is going to be worth the effort,” says Linda Bloom. “In the midst of it, it sometimes can be so aggravating and so challenging that people can lose sight of that, at the end, we’re going to have a beautiful end product.”
Take our 5-minute quiz to see if a home equity investment is a good fit for you.
LEGAL DISCLAIMER
The opinions expressed in this post are for informational purposes only. To determine the best financing for your personal circumstances and goals, consult with a licensed advisor.
Cleaning your refrigerator coils improves your fridge’s efficiency—and, by extension, its duration/lifespan as a working kitchen appliance. With replacement compressors going for upwards of $600 and new refrigerators costing between $350 and $2,000 (depending on the bells and whistles), taking a half-hour every six months to clean your refrigerator coils is a cost-effective use of your time.
What to Do
Remove dust and dirt buildup along and between your refrigerator coils.
What You’ll Need
The Basics
Refrigerator coil brush
Vacuum with hose attachment
Gloves
The Works
Shop-Vac
How to Do It
First, locate the power source for your fridge and where the coils are located. (Carefully pull the fridge away from the wall if necessary.) Unplug your fridge, then remove the coil cover (if applicable).
If your refrigerator coils are on the bottom:
Use a refrigerator coil brush ($5-$20 at most retailers) to remove any dust, dirt, debris, and dander on and around the refrigerator coils, taking as many passes as necessary. Sweep up or vacuum displaced dirt.
If your refrigerator coils are on the top:
Lift coil cover, noting any sharp edges, then reach in to wipe down coils. Use vacuum attachment to gather up any residual debris from the coil compartment.
If your refrigerator coils are on the back:
Wipe away dirt and dust from your refrigerator coils with a refrigerator coil brush. Sweep or vacuum any debris from the floor.
Lastly, replace your coil cover and plug your fridge back in. Gently push the fridge back into place.
LEGAL DISCLAIMER
The opinions expressed in this post are for informational purposes only. To determine the best financing for your personal circumstances and goals, consult with a licensed advisor.
In summer months, you may be asking yourself which vents to close, and when to open foundation vents to enable outside air to circulate under floors, preventing mildew and rot, which can cost up to $6,000 to clean up. Check and update your vents to ensure your foundation has proper air flow (while also preserving your cash flow).
What to Do
Check the vents on your home’s foundation.
What You’ll Need
The Basics
Work gloves
Dust mask
Tape measure
Screwdriver and screws
Screens or vent covers
The Works
Automatic vents
Power grinder
Masonry hammer
Barb spring
Caulk
Screwdriver
Screws (Screw anchors with retaining clips Optional)
6 mm plastic sheeting
How to Do It
If your home has vents in the foundation, they’ll most likely be accessible through crawl spaces (e.g., under porches or via basement access) or are visible from the home’s exterior. Count how many foundation vents you have across your entire home, measure their sizes, then decide if you want screens or automatic vents as replacements. Screen vents will need to be removed and closed for cold-weather months, while automatic vents use temperature sensors to open and close when needed.
Purchase your new screens ($3—$50 each) or automatic vents ($10—$200 each) for each vent space. To install new foundation vents, first remove any existing closures (e.g., foam blocks or grates), then make any adjustments to the vent frame size to ensure a snug fit for your replacement.
Your new vents should fit snugly to allow air flow—while also keeping out pests and vermin. If your vents are in a crawl space that has a dirt floor, you can also put down plastic sheeting ($25—$60) to block extra moisture.
LEGAL DISCLAIMER
The opinions expressed in this post are for informational purposes only. To determine the best financing for your personal circumstances and goals, consult with a licensed advisor.
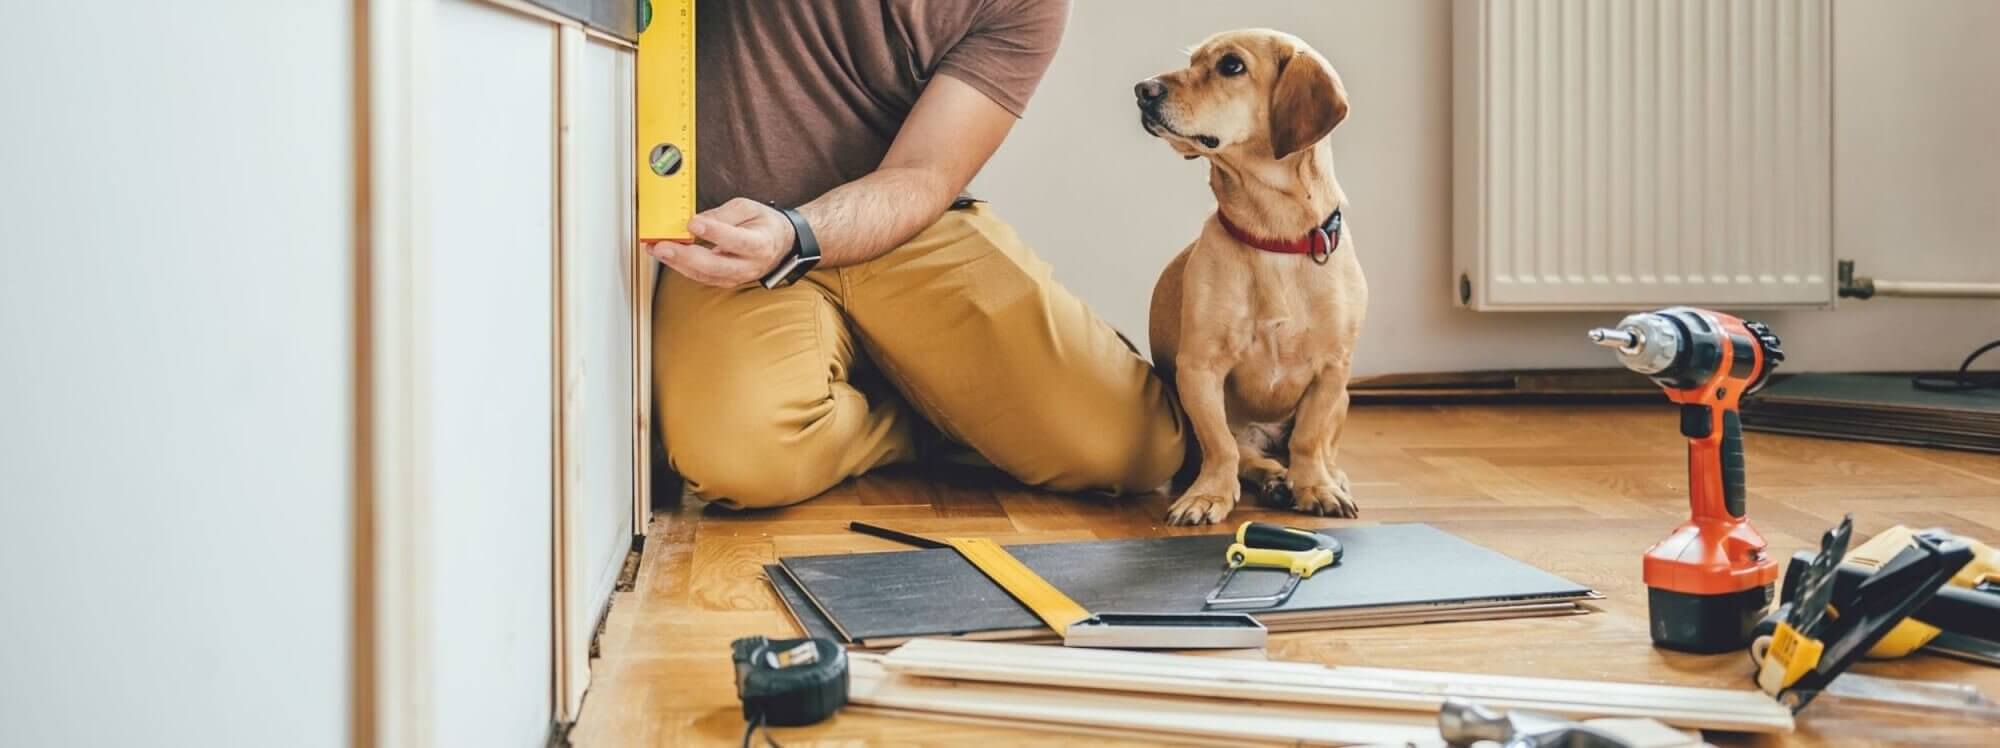
Like many homeowners, we often fancy ourselves to be pretty handy around the house and yard — or if not, we’re eager to learn how to make our own DIY home repairs. Watching channels like HGTV, or seeing gorgeous project inspiration from Instagram and Pinterest, can encourage any novice to pick up some tools and get to work. And in many cases, with all respect to Martha Stewart, this can be a good thing.
But as many homeowners also know, we’re not always the most skilled person for a given job. And when it comes to protecting and preserving the value of our homes, sometimes it’s best to call in a professional.
With home improvement projects both big and small, when should you go DIY and when should you hire a contractor? Here are three key questions to ask before you start any project:
1. Will This Update Improve the Value of Your Home?
First things first — will your planned project make your home more attractive to potential buyers or is it something that could actually diminish your resale value? You don’t want to expend time and money on your home only to discover the investment won’t pay off in the long run. Before you read up on how to do home repairs yourself or start comparing contractors, make sure your home improvement plans are a smart financial decision.
According to HGTV, home repairs that pay off include landscaping, bathroom and kitchen upgrades, and converting attic space to a bedroom. Projects that can decrease a home’s value, however, include swimming pools, wall-to-wall carpeting, and garage additions. Think twice before installing that in-ground pool or converting your garage from one car to two. If you’re planning to move in the next several years, will this upgrade help or hurt you?
2. Do You Have the Skills, Time, and Tools to Do the Job?
Years ago, after consulting a home improvement manual and some videos online, a Hometap staffer (who shall remain anonymous) decided to change his kitchen sink faucet and handles on his own. Big mistake: He drastically overestimated his skill set, misaligned his pipe fixtures, and ended up having to call a plumber for what turned out to be a significant repair. Had he simply called a plumber at the start, his bill would have been much smaller (and the project would have taken less time, too). Lesson learned!
Speaking of which, even if you don’t have mishap that requires a professional fix, embarking on a project yourself will often take much longer than contracting it out, If it’s your first DIY endeavor, you should be prepared for a fairly long learning curve and be willing to see the whole thing through, no matter how long it may take. Craftsman, carpenter, and HGTV personality Chip Wade suggests not moving forward with work that will take longer than two consecutive weekends to complete. “You’re going to lose motivation, your craftsmanship level is going to start to fall and you’re going to end up, like most people, with unfinished projects,” he told the Rachael Ray Show.
Finally, there’s the issue of skillset. On MarketWatch, consumer reporter Jeanette Pavini says it best: “The internet can make DIY projects look a lot easier than they are.” Before you start any home improvement project, whether significant or minor, honestly and critically assess your skills and the tools you have at hand. Will you be able to competently complete the job in a way that will definitively improve your home? (If you’re not sure, check out this quiz from the National Association of the Remodeling Industry.) Do you know how to use the tools required for the work? If you don’t have the tools, how much will it cost you to buy or rent them? Which brings us to another financial consideration…
3. Which Is Most Cost-Effective: DIY or Hiring a Professional?
Skills and equipment aren’t your only considerations when it comes to deciding whether to go DIY or to use a professional. There’s also the cost, both in terms of time and money. With any project, Investopedia recommends factoring in what materials will cost you as well as the length of time the project will take to complete. Get at least two quotes from contractors, price out materials and time from a DIY perspective, then compare those numbers side by side. Which option makes more sense for your timeframe and budget?
Remember: Any home upgrades or DIY repairs should emphasize your property’s current and future value as well as your pride of ownership. Be honest when assessing any home improvement project in terms of whether it’s a good investment and, if so, who should actually do the work. You—and your home’s future owners—will thank you.
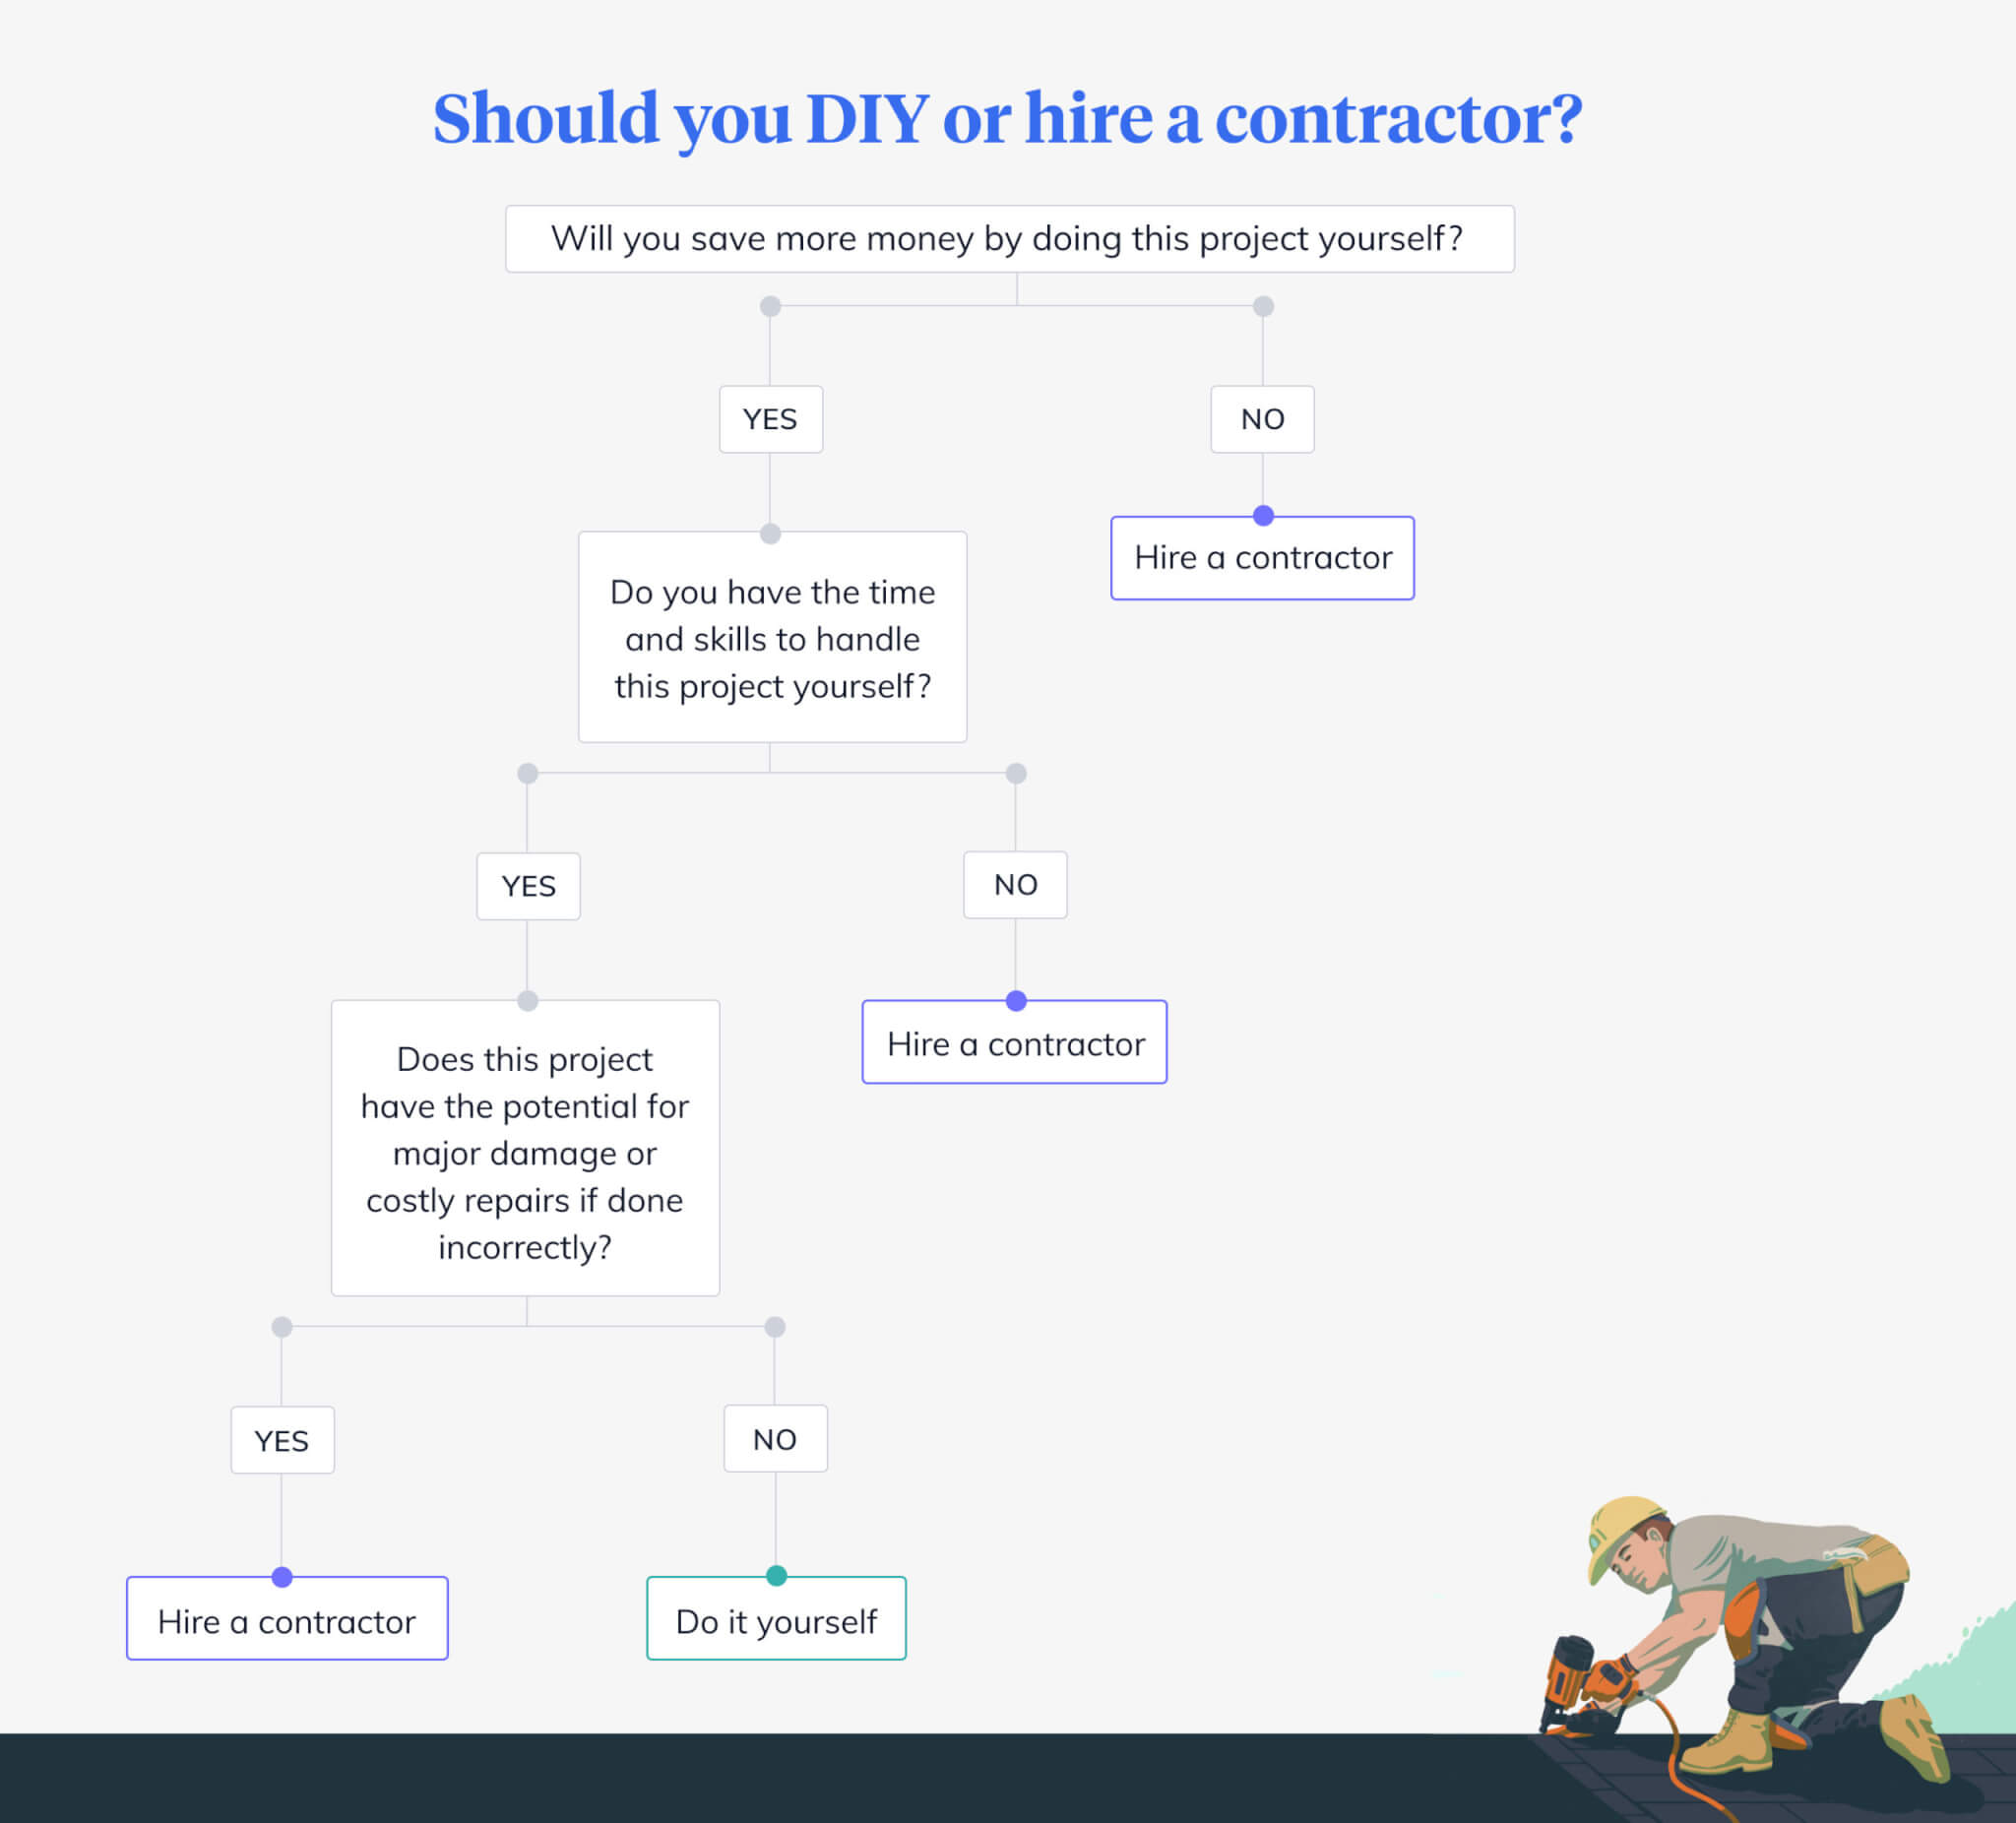
See the decision tree below for a quick guide to choosing whether to handle things yourself or hire a contractor.
If You Do Decide to DIY…Here are some things to keep in mind.
Exterior projects (siding, shutters, doors)
Consider the weather – It may seem obvious, but you’ll want to plan your project for a time of year that’s conducive to an extended period of outdoor work; late spring, summer, and early fall are all typically the best picks, but keep in mind that it may take longer than you expect, especially if it’s your first foray into home improvements.
Strike a balance between style and function – Be wary of diving into cosmetic projects without thinking about whether or not they’ll make practical sense. Sure, it might look cool, but how much will it cost to keep it that way, and does it serve a purpose beyond aesthetics? If it does, it’s probably more likely to help you grow your home value.
Roofing
While it’s certainly possible to handle roof repairs or replacement yourself, experts wouldn’t advise it.
“I would never recommend a homeowner get on their roof, much less try to install or repair it,” says Mike Holmes, professional contractor and HGTV personality. “It is too dangerous and can lead to a serious injury. Your home’s roofing system is only as good as the installation and the materials used. That’s why it’s important to use good quality products and professional contractors.”
If you do decide to go ahead with a DIY roofing project, keep the following tips in mind.
Get the proper equipment. There are several supplies that any first-time roofer needs to stock up on, including a roofing ladder, reliable boots, gloves, a belt, and a hammer.
Team up with a pro. Even if you don’t plan to hire a professional to handle your roof work for you, it’s wise to run your project by someone with experience to make sure your plan is sound.
Measure first. You’d be surprised at how many people jump into a roofing project without getting the lay of the land first. Make sure to get the square footage of your roof before beginning any work so you can purchase the correct amount of shingles if necessary.
Outdoor/garden projects
Consider the layout of your yard. Before you start planting, think about the size of your yard and choose an area that makes sense in terms of where you spend your time.
Calculate sun exposure. Once you’ve settled on a good place for your garden, make sure it will receive the right mix of sun and shade and allow your plants to thrive.
Map it out. Like any design project, you’ll want to create a solid, detailed sketch for your plot so you aren’t winging it when the time comes to build and plant.
Plumbing
Don’t over-tighten connections. There’s a well-known phrase among plumbers: “hand-tight is just right.” This means that you should avoid using any tools, like wrenches, to over-tighten bolts, screws, or pipes — this rookie mistake can cause them to break or lead to damage down the road.
Locate your shut-off valves. Perhaps the most important piece of knowledge you should have before starting any home plumbing fix is the location of your main shut-off valve so you can stop the flow from any broken or burst pipes. This is usually found in your basement, utility closet, or an exterior utility wall.
Electrical
Know where your cables are. Many homeowners have learned the hard way that cables where cables are located inside their walls by accidentally drilling or nailing something into them. Invest in a cable detector to find them before you get started.
Shut off the power before you start. To keep yourself safe while doing any work near wiring, locate your fusebox and shut down the power, double checking that it’s really off by trying to switch on the lights or plug in an appliance. Use battery-operated tools if possible.
Use a residual-current device. Also known by the acronym RCD, a residual-current device can actually save your life by breaking the electrical circuit if you make a mistake.
Appliance repair/installation
Consider space requirements and wattage. The first and most important factor to ponder before bringing a new appliance into your home: make sure it’s going to fit and that its wattage requirements aren’t going to overload your power system.
Consider the 50% rule. This one is simple: when deciding whether it’s worth it to repair an appliance, look at its age — if it’s more than halfway (50%) through its lifespan, it probably makes more sense to replace it than repair it.
Invest in a multimeter. Every home handyperson should have a multimeter, also known as a volt-ohm meter, which is a handheld device that measures electrical voltage, current, and more.
Check the appliance error codes. You might just luck out and find out that your appliance issue has a simple fix you can handle yourself by looking up the error code that it displays. While these can be found in the instruction manual that came with your appliance, many are now listed online if you’ve misplaced it.
Reconfiguring rooms/taking out walls, etc.
Look inside the wall. Check to make sure there aren’t any electrical outlets, piping, or ventilation in your wall before knocking it down — if any of these elements are present, it is probably worth your while to outsource the work to a professional.
Plan ahead for cleanup. Often, curbside trash pickup will not remove construction debris, so you may need to consider alternate options. Many homeowners rent a dumpster in advance of wall removal.
Flooring
Think about the flooring type. Not all flooring is created equal, so it’s important to consider what type you’re using before getting started: laminate, vinyl, hardwood, tile? Each one requires a different set of tools, approach, and process.
Give yourself time to learn. One big advantage of using a professional for floor installation is that it will likely be completed more quickly than trying to handle it yourself, especially if it’s your first attempt. Of course, it might be a fun challenge if you have free time to figure it out!
Take our 5-minute quiz to see if a home equity investment is a good fit for you.
YOU SHOULD KNOW… We do our best to make sure that the information in this post is as accurate as possible as of the date it is published, but things change quickly sometimes. Hometap does not endorse or monitor any linked websites. Individual situations differ, so consult your own finance, tax or legal professional to determine what makes sense for you.
“An ounce of prevention is worth a pound of cure” goes the old adage, but for homeowners, it’s more apt to say a few dollars spent on maintenance now avoids thousands on home repairs later. It’s all about taking a proactive, affordable planning approach so you won’t have to deal with reactive (and expensive) cleanup and replacements down the line.
Of course, with all things homeowner-related, there will be some costs involved for home maintenance—but how much? A good rule of thumb is to budget 1—3% of your home’s value for upkeep each year. (For example, if your home cost $800,000, set aside $8,000 annually to keep everything in working order.)
You’re committed to staying on top of home repairs and you’re setting money aside. Bravo! Now, which home maintenance projects should you tackle first? Here are five options for home upkeep where a little effort today results in big savings tomorrow.
1. Clean Your Gutters and Avoid Costly Roof Repair
Gutters are notorious traps for leaves, dirt, and debris and that detritus buildup can lead to leaks, mold, roof and foundation damage, pest issues, and other (costly) headaches. Home experts recommend having your gutters cleaned at least twice a year, once in the fall and once in the spring, or up to four times a year if you have pine trees on your property.
Estimated gutter cleaning cost: $100 to $250
Estimated roof replacement cost: $12,000
Potential maintenance savings: $11,900
2. Add Weatherstripping to Cut Your Energy Bill by 10—15%
Weatherstripped windows and doors stop drafts and keep heat and A/C inside. This not only means more comfortable rooms, but more efficient heating and cooling systems with an average savings of 10—15% on your energy bills. Bonus: Depending on your income and residence, you may be eligible for weatherization assistance from your state weatherization agency.
Estimated weatherstripping cost: $250
Estimated utility savings: $48 to $139 per bill, based on heating fuel type
Potential maintenance savings: up to $300 per season
3. Get a Drip Pan and Keep Your Drywall Dry
If your hot water heater springs a leak, a drip pan connected to a drain line whisks the water out the drain and away from your floors, drywall, and furnishings. Check your water heater to ensure a drip pan and drain line are properly set up on your water heater, and if not, schedule a replacement installation ASAP to avoid an interior flood.
Estimated water heater replacement costs: $500 to $1,800
Estimated basement flood cleanup costs: $500 to $10,000
Potential maintenance savings: up to $9,500
4. Recaulk Your Tub and Avoid Replacing Tile, Walls, and Ceilings Later
Caulking seals the area around a bathtub, preventing leaks that can damage tile, walls, and ceilings. For maximum effectiveness, caulk should be replaced every five years or earlier if there are significant chips, cracks, peels, or mold/mildew buildup. (One way to tell: If there’s black gunk on or around your tub that never seems to get clean that means the growth is behind the caulk and it’s time to repair.)
Estimated bathtub caulking costs: up to $150
Estimated cracked bathtub/fixtures replacement costs: up to $3,000
Potential maintenance savings: up to $2,850
5. Wrap Your Pipes and Skip Costly Plumber Bills
If you have pipes near walls that aren’t insulated—such as in basements, attics, or under sinks—you can prevent them from freezing (and bursting) by wrapping them directly with foam, fiberglass, or rubber sleeves. These extra layers, coupled with keeping your heat on and running your pipes during frigid temperatures, are a cost-effective way to safeguard your pipes.
Estimated pipe insulation costs: $95 to $300
Estimated burst pipe repair costs: $1,000
Potential maintenance savings: $700 to $905
How much can you save?
Total estimated maintenance spending: up to $2,750
Total estimated repair/replacement savings: up to $25,000
Now we all know that life still happens even if you’ve taken every preventative measure possible. When it does, Hometap is here as an option to help you get through those pesky repair costs without taking out a high-interest loan or adding another monthly payment. See how homeowners have been accessing the equity they’ve built up in their home with a Hometap Investment today!
Take our 5-minute quiz to see if a home equity investment is a good fit for you.
LEGAL DISCLAIMER
The opinions expressed in this post are for informational purposes only. To determine the best financing for your personal circumstances and goals, consult with a licensed advisor.
A weekend home on the lake. A pied-à-terre in your favorite city. A beachfront condo. For some homeowners, a vacation home or weekend home can hold both aspirational and practical appeal.
According to the National Association of REALTORS® (NAR), three primary motivations drive Americans to purchase a vacation home: as a family retreat, as a principal residence at some point in the future (e.g., retirement), or as an investment (e.g., as rental income or to diversify investments).
“We bought our cabin 15 years ago,” says Rick S., a full-time Connecticut resident who has a vacation home in Vermont. “It’s a place for quiet solitude in the woods, a place for us to get away and unwind. We go up at least two weekends a month. I’s really exceeded our expectations.”
Of course, taking on a second home is a major commitment, and the considerations will be unique based on property type, geographic location, whether you’ll be renting it, etc. But for any aspiring vacation homeowner, some financial research (and some soul searching) can help clarify your decision, regardless of the particulars. If you and your family have been thinking about buying a vacation home, here are three key questions to ask before calling a real estate agent.
1. Why Do You Want This Vacation Home?
First things first: What’s the primary motivator driving your decision for a vacation home? Relaxation and leisure? Income and investment? Some combination? Before you start your property search, have the key uses in mind, so you can optimize the time spent touring potential homes to buy that best meet your needs. If you anticipate hosting family reunions or renting to groups, a larger property may make sense. If you expect to have the home merely as a place to sleep while you explore the surrounding region, a smaller condo could be a good fit.
Rick S. and his family had a specific list of “must-haves” when considering vacation home properties. “It had to be less than a two-hour drive [from our primary home] so we could leave on a Friday and have the whole weekend,” he said. “It needed to be pretty isolated, away from neighbors. Near a body of water—a lake or pond—was ideal. And it had to be a log cabin.”
In addition to determining the preferred characteristics of the property itself, be realistic in considering how you and others will use the home as well as the frequency of your visits as you start to narrow down properties.
2. Is Now a Good Time to Buy a Vacation Home?
With any major purchase, understanding current and future market trends can help inform your decision as to when to buy. According to the 2017 NAR Investment & Vacation Home Buyer’s Survey, of more than 2,000 vacation and investment home buyers, 81% of vacation home owners and 76% of investment property buyers felt now is a good time to buy.
Additionally, investment buyer survey respondents indicated they plan to own their investment home for nine years (an increase from five years from the 2015 survey respondents). Among buyers of vacation homes, 18% plan to own their home for future retirement. And like investment buyers, the median length of time vacation homeowners expected to own their property is nine years.
As you’re considering when and where to buy your vacation or investment property, speak to local real estate professionals about the specific housing market. Is now a good time to buy in that specific area? What real estate trends are anticipated in the coming years and are those trends favorable to whether you’re planning to rent the property (both short- and long-term) or sell it down the line?
3. How Will You Pay for Your Vacation Home?
Once you’ve decided on the region, the type of home, and how you’re planning to use the new property, now it’s time to tackle the finances: How are you planning to pay for your vacation home—and continue to cover the mortgage (if applicable) and upkeep?
According to NAR, the 2016 median vacation and investor home purchase price was higher than 2015: $200,000 for vacation buyers (up from $192,000), and $155,000 for investors (up from $143,500). Thirty-six percent of investors and 29% of vacation buyers paid all cash; for those who used financing, 45% of vacation buyers and 47% of investors borrowed less than 70%.
During the first few years of having the vacation home, Rick S. and his family rented out the cabin. “We used renters to help supplement paying the mortgage and were very selective about who rented it,” he said. Because the family now has the same renters who book repeatedly year after year, they don’t need to advertise to get new renters any longer, as they have enough income from existing clientele.
In determining how you’ll finance your vacation home or investment property, update your budget to reflect your current income and expenditures as well as the anticipated new costs from your vacation home’s mortgage, taxes, furnishings, and upkeep. Factor in property management costs (if applicable), potential rental income (which will fluctuate), and insurance.
If the numbers don’t quite add up or if the budget is too tight for your liking, don’t worry about taking a step back. You can always develop a savings plan to work toward your goal of a second home. You can look into alternative financing sources. You could pursue a particular type of property that may be more affordable (such as a short sale or a timeshare). The objective is to make sure your second home aligns with your initial goal, whether that’s a gathering place for family, a place to unplug and destress, or another income stream.
Take our 5-minute quiz to see if a home equity investment is a good fit for you.
LEGAL DISCLAIMER
The opinions expressed in this post are for informational purposes only. To determine the best financing for your personal circumstances and goals, consult with a licensed advisor.